
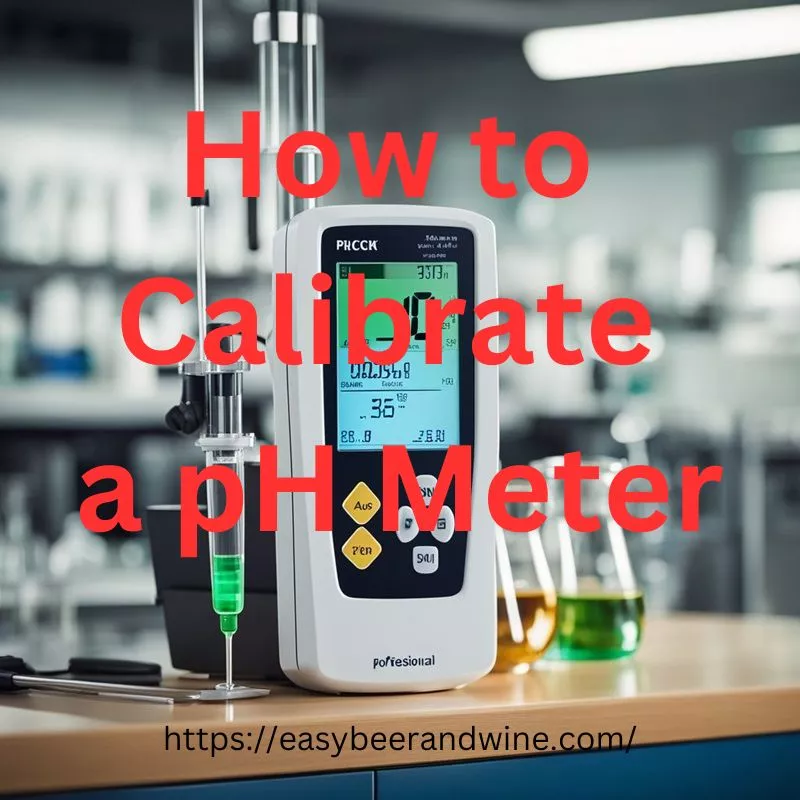
How to Calibrate a pH Meter for Wine & Beer (Step-by-Step)
If you make wine or beer at home, a pH meter can be one of those tools that is either really helpful or super annoying.
Most “bad” pH readings come from one thing: the meter is not calibrated (or the probe is drying out).
A pH meter is just one part of a solid setup, along with the rest of your home wine making equipment.
In this guide, I will show you how I calibrate a pH meter step by step, plus the simple habits that keep it accurate.
You can also first read my opinion about the best pH meter for making wine on that page.
Table of Contents
Preparation Before Calibration
Before calibrating a pH meter, it is essential to prepare it properly. Here are some steps to follow before calibrating a pH meter:
Step 1: Check the pH meter’s operating manual
Most pH meters calibrate the same way, but the button names and prompts can be different. Some meters auto-recognize buffers, and others make you confirm.
Step 2: Gather the necessary materials
Here is what I put on the counter:
- pH meter (or pH pen)
- Fresh buffer solutions (usually pH 7.00 and pH 4.01)
- A third buffer (pH 10.01) if you need it (more on that below)
- Clean cups/beakers (one for each buffer)
- Distilled or deionized water (for rinsing)
- Paper towel or lint-free tissue (for blotting, not rubbing)
Step 3: Get buffers to the same temperature
This matters more than most people think.
pH is temperature-sensitive, and calibration goes more smoothly when the buffers and the probe are at the same temp.
Step 4: Rinse and gently blot the probe
Before calibrating the pH meter, it is essential to clean the electrode to remove any residue from previous measurements. I rinse the probe with distilled/deionized water, then blot it dry.
I don’t wipe or rub the glass bulb.
If the probe looks crusty or stained, clean it first (I cover that in troubleshooting below).
Step 5: Allow the pH meter to warm up
Before calibrating the pH meter, it is essential to turn it on and allow it to warm up for at least 30 minutes. This will ensure that the meter is stable and ready for calibration.
By following these steps, you can ensure that your pH meter is properly prepared for calibration.
Which Buffer Solutions Should You Use?
For wine, I almost always calibrate with pH 7.00 and 4.01, because that’s the range where most wines fall.
Beer brewing can sometimes sit a bit higher depending on the style, which is why some brewers also use a pH 10.01 buffer.
A properly calibrated pH meter is just one part of good measurements, along with the rest of your home beer brewing equipment.
- pH 7.00 (neutral point)
- pH 4.01 (acidic range, where wine usually lives)
That’s the sweet spot for most wine pH readings.
A third point (pH 10.01) is mainly useful if you’re measuring in a higher pH range (more common in certain brewing/mash situations, or if you’re testing things that are closer to neutral and above).
Step-By-Step: How To Calibrate A pH Meter
Most meters follow the same basic pattern: pH 7 first, then pH 4.
Step 1: Calibrate with pH 7.00
- Pour a small amount of pH 7 buffer into a clean cup.
- Put the probe in the buffer (glass bulb and junction fully covered).
- Wait until the reading settles.
- Press CAL (or confirm the calibration point if your meter asks).
- Wait for the meter to accept the buffer.
Tip: Don’t dip your probe into the original buffer bottle. Pour a little into a cup so you don’t contaminate the whole bottle.
Step 2: Rinse and blot
- Remove the probe.
- Rinse with distilled/deionized water.
- Blot dry gently.
Step 3: Calibrate with pH 4.01
- Pour pH 4 buffer into a second clean cup.
- Place the probe in pH 4.
- Wait for the reading to settle.
- Confirm/press CAL.
- Wait for the meter to accept it.
That’s it for most winemakers. You now have a calibrated meter in the range you care about.
Step 4 (Optional): Third point with pH 10.01
Only do this if:
- Your meter supports 3-point calibration, and
- You actually measure higher pH ranges
The process is the same: rinse, blot, then calibrate in pH 10.
Quick Calibration Check (Takes 30 Seconds)
After calibration, I like doing one simple check:
- Put the probe back into pH 7.
- It should read very close to 7.00 once stable.
If it’s way off, something is wrong (old buffers, dirty probe, low battery, or the probe is worn out).
The Biggest Mistake: Storing The Probe Wrong
Here’s the simple rule:
- Rinsing with distilled water is fine
- Storing the probe in distilled water is not
Most probes want to be stored in a proper storage solution (often KCl). If the probe dries out, it can get slow, inaccurate, or fail to calibrate at all.
If your meter came with a storage cap and solution, use it.
How Often Should You Calibrate?
This depends on how picky you want to be and how often you use it.
Here’s my normal routine:
- Before each brew/wine session, if I want accurate numbers
- At least once a week if I am using it a lot
- Any time readings look “weird” or jump around
If you don’t use your meter often, calibrate right before you use it again.
Troubleshooting: When Calibration Won’t Stick
Problem: The meter won’t recognize the buffer
Try this:
- Use a fresh buffer (expired buffer causes trouble)
- Make sure the probe is fully submerged
- Let the reading settle longer
- Replace the batteries (low power makes calibration flaky)
Problem: Readings drift or bounce around
Common causes:
- Dirty probe
- Probe drying out between uses
- Sample not mixed well
- Temperature swings
Problem: You calibrate, but wine readings still seem off
Try this:
- Do a quick check at pH 7 again
- Calibrate again with fresh buffers
- Make sure you’re not cross-contaminating buffers (always pour into cups)
If a probe is old, sometimes it just won’t hold calibration anymore.
If you’re looking for a meter that’s easier to calibrate and more reliable for wine, here’s my take on the best pH meters for making wine. (Internal link)
Summary Of Calibrating a pH Meter At Home
Calibrating a pH meter is simple once you do it a few times.
- Use pH 7 and pH 4 for wine
- Rinse and blot between buffers
- Use fresh buffers in clean cups
- Store the probe in storage solution (not dry, and not in distilled water)
If you keep up with calibration and storage, your readings will be more consistent, and you will trust your numbers again.
Frequently Asked Questions About pH Meter Calibration
What can I use at home to calibrate my pH meter?
To calibrate a pH meter at home, you should use proper pH buffer solutions, not household liquids. For wine and beer making, pH 7.00 and 4.01 buffer solutions are the correct choices because they match the pH range you actually measure. Things like vinegar, lemon juice, baking soda, or tap water are not accurate enough for calibration and can throw your readings off.
How do I know if my pH meter is accurate?
To know if your pH meter is accurate, you have to test it with a standard buffer solution and use the steps recommended by the manufacturer.
Can I use tap water for calibration?
You can use tap water for the calibration of a pH meter. But using deionized or reverse osmosis water is better.
By using this method and these steps you will ensure a correct pH for your wine.
Eddie Mcvay
Eddie McVay is a home brewer with over a decade of hands-on experience making beer and wine at home. He started with a simple home brewing kit and learned through real batches, real mistakes, and constant experimentation. His articles focus on practical, beginner-friendly advice, clear explanations, and proven techniques that help home brewers get better results without overcomplicating the process. Read more about Eddie Mcvay here.